Blog post
Homelab adventure
Published June 7, 2025
Last updated June 7, 2025
Before starting this project, I already had good experience and comfort with Linux and accessing things from a terminal, as well as configuring network devices. Additionally, I understood networking on a fairly deep (ish) level, which helped.
When I started this journey, my intention was simply to build what amounts to a remote desktop client, with the intent to access it with Moonlight from my parents smart TV. “Why?” is probably a question that echoes as you read this. Well, after binging Jenna Phipps’ renovation series during a flu earlier this spring, I decided to watch it with my parents. The catch, however, is that my mom isn’t the greatest at English, and needs to rely on Swedish subtitles. Unfortunately, at the time of writing this, automatically translated subtitles for Swedish aren’t available on anything other than the desktop version of YouTube.
At first, I tried to access the desktop version from the smart TV’s built in browser. As anyone who owns a smart TV can probably assume, it was slow, very slow. Not only that, it also played ads in the corner of the browser at all times, which became ever more insulting as the TV struggled to even display a 1080p video smoothly.
The immediate, rational, and adequate solution to this is obviously just to use a laptop, or something. In fact, this is what I used to do - bring down my personal laptop every wednesday to watch the video of the week with them (or several, when we began watching)… before getting struck in the head (apparently).
Suddenly, the old and abused HP laptop began looking practically sultry. Again, it was time. Previously it has had the displeasure of being a 24/7 Minecraft server (typically until the friend group got tired, you know the deal), now it’ll have the pleasure of being a home server.
Awakening
At first I didn’t quite know where to start. What I did know is I didn’t want to use the entirety of it for the same purpose, so the remote desktop would have to be some type of subsystem. Prior to this I have had very limited experience with Docker, but I knew it was probably the ideal solution - I just didn’t know how to configure it.
After some research, I installed Proxmox, since I knew the laptop has virtualization support. Unfortunately though, the BIOS is locked, so I couldn’t actually enable it. For compatibility reasons, I decided to install Debian instead, without a desktop environment. Normally, I’d prefer to install Arch since that’s what I’m familiar with, but Debian has better support for this use-case considering the little experience I have.
As usual, I obviously flubbed in the setup and forgot to deselect the packages I didn’t want, so I had to restart the Debian setup, but after that I was ready to start.
The rest of the setup was done remotely with SSH, since it was a lot more comfortable to do it from a PC, instead of running back and forth.
I began by installing Docker. I then created a directory for my compose files. Initially, since I didn’t know what I was doing, I kept all the services in one monolith compose file. After a while, I looked up better practices, and split it into individual folders. As far as I understand, this is preferable as it keeps stacks separate.
My first attempts were made by trying to set up a Ubuntu container with the minimum needed to stream a web browser, but I quickly realized this was too much effort. After some searching, in the depths of Reddit, I found Games on Whales. Here, ABeltramo, has developed a utility called Wolf, which is essentially a Dockerized server made for access with Moonlight. However, it didn’t end up working on the laptop.
To move on for a while, I decided to install Jellyfin, which went a lot smoother. I didn’t need to do anything particular with it, so I again went back to trying to set up the remote desktop setup. This is when I found the SteamOS image from linuxserver.io. I tried it, and it actually kind of worked just fine. However, I couldn’t get Moonlight to work, and ultimately I realized (from prior experience with our TV) that the hardware on the TV will likely not be able to handle such a stream anyway. As such, I abandoned the original idea.
What now?
The rest of the project outlived the initial idea though, I was hooked. Making my own homelab has been an appealing idea for a while, even back when I was a kid hosting Minecraft servers. With knowledge gained throughout my computer engineering studies, it seemed even more appealing than ever.
I then installed Syncthing, to copy some files over. After that, since Syncthing wasn’t ideal, I installed Nextcloud.
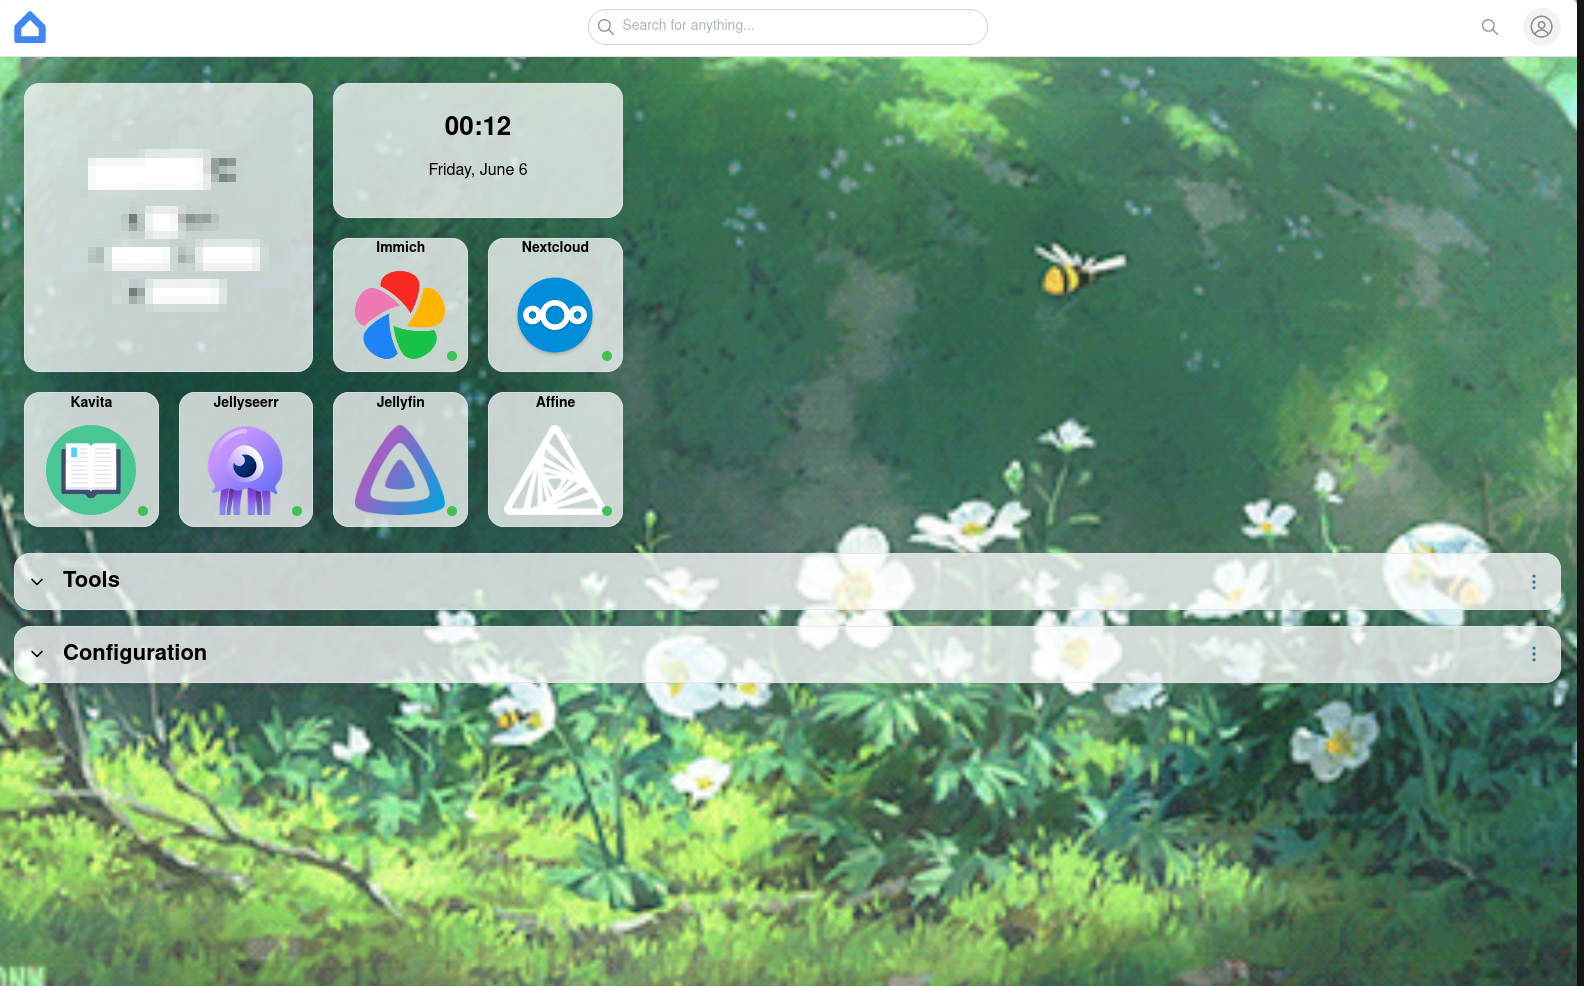
Then it was time for a dashboard. Initially I went for Dashy, as I thought the image on their website (an ad for another service) was a preview. After uninstalling it, I installed Homer. Homer was perfectly adequate, but tedious to configure, so I ended up installing Homarr instead (completely different software). Homarr is nice, because it lets you drag and drop, and has more integrations. I set it’s port to 80 externally, so it’d be the first thing you see when visiting the address, which I had by now set to named one in my routers DNS configuration.
I also decided to install immich. This went smoothly, since immich is the only one out of the bunch to use a .env file for configuration - meaning you don’t have to find the fields yourself.
I also installed Navidrome by now, which I quickly realized isn’t that much more useful than Jellyfin for music. Ultimately I ended up removing it from my stack later on for this reason.
I’m an avid reader, or well, I used to be before university. Being a Humble Bundle user from launch, I have gathered a decent amount of random e-books and comics. Unfortunately, logging in and fetching them for every device I have (as well as just keeping inventory) is a bit tedious, which is why having my own e-book library that I can easily access and categorize sounded like a great idea. Ideally, I would also like the digital versions of my physical books, but without paying double I’d have to pirate it - which I don’t want to do. Do note, I am the only person permitted to access this library, as it is unclear if I am legally allowed to distribute these books even on the same network. The same goes for all other media on the server.
Either way, I initially went for Calibre + Calibre-Web, as I was at least a little bit familiar with Calibre. When I realized Calibre on Docker is just a remote VM, I decided to research more. Thats when I found Kavita, which is what I ended up settling with. Kavita looks good, is performant, and essentially feels like Jellyfin for books (granted, you can also read books in Jellyfin).
By now I added a graceful shutdown service that turns off the server in a safe manner (making sure everything saves and quits) when the battery level of the laptop drops below 50% (meaning power has been lost for a while). While I never really experience power loss, it gives me some peace of mind.
It was time to move the laptop from the “workbench” to it’s resting place, where it’d be connected to ethernet. To prepare for this I changed the power configuration to disable the lid switch, so I could have the lid closed. I also changed /etc/network/interfaces to add the ethernet interface and comment out the wireless one.
Crucially, however, I left a typo in the interface name, which meant I had to get off my chair and access the laptop physically for a while as I couldn’t SSH into it (traumatic, I know). I blindly troubleshooted it for 30 minutes or so before eventually realizing I forgot the 2 in enp0s25. Then it worked, after saving and a router restart.
Moving in?
It was now time to start adding media properly. I first started with my Humble Bundle library, where I had books, comics, audio-books, and music (mostly game soundtracks). After that, I downloaded the few books and comics that weren’t stored in ASCM format from Google Books. Then I got a little hungry, and decided to download some books from Project Gutenberg…
Then I realized I also own media on Steam, which I promptly downloaded and burdened the server with. By now, it was time to copy some DVDs.
I connected an external 1 TB SSD I had laying around, as my laptop’s 128 GB wont cut it. I mounted it, moved my files over, and reconfigured my containers to use it instead. All of them were just fine with that, except Immich. I fortunately hadn’t really used it yet so I tried just deleting it and it’s volumes and reinitializing. No bueno, wouldn’t work.
Heres where I get stupid. The drive in question was formatted initially in Windows. Upon connecting it to the laptop I formatted the only partition as ext4, however the partition table was still MBR. I thought it may be the partition table, so I decided I’ll convert it to GPT. This is actually a fairly quick and somewhat safe procedure (made a backup first though). Problem is, when I copied the command, I forgot to change sda to sdb, and ended up changing the laptops own partition table.

The problem with this is that GPT is for UEFI systems, and needs more partitions to boot. Oh, and that backup? It’s on the sda drive…
Out the Live USB went. First I tried to add the missing partitions and reinstall GRUB. This didn’t work, because as I later realized (after testing with a UEFI based boot device) my laptop does not have UEFI boot enabled. “No problem”, I thought, “I can just convert it back”. Nope.
Could I have fixed it? Yeah, probably, but by now it was honestly just faster to reinstall Debian. Before doing so I used SSH to the Live USB to copy over all my compose files and media files, so it’d be simple to reinstall everything.
This time around I did things properly too. Last time my permissions were a mess, but now I knew how to configure it properly. The reinstall took about 45 minutes. Obviously I messed up the internet configuration again, but it was quicker to fix this time.
Moving in.
Now, important disclaimer: ripping DVDs is legal in Sweden, so long as it is for personal use on a device that doesn’t have a disk drive. It is not legal to break copy protection, unless the copy protection prevents you from watching it on any of your devices. You are not allowed to share the media with anyone. You are only allowed to watch them at home with family or friends. I have only copied disks that are legal to copy, and my server is not exposed to the internet nor is it accessible by anyone other than me (and these services never will be). This is my interpretation of the law, and should be seen as legal advice. I am not aware of what laws apply in other regions.
Now it was time. The stack of DVDs at the ready, I started piping them in one by one, making use of MakeMKV to rip them and then feeding them into Handbrake.
To speed up the process I suggest you change the default path of both MakeMKV so you don’t have to shuffle around files to much. Handbrake will let you bulk process files if you set a naming scheme. I suggest changing MakeMKVs threshold to 60 seconds and not 120 as this will often make you lose out on trailers.
By using the back of the DVDs I identified each file, with some pain, and named them according to Jellyfin recommendations. Not every DVD is clearly labeled, so I sometimes had to refer to Wikipedia or Fandom sites. Eventually I found dvdcompare.net, which made it significantly easier. I then added them to Jellyfin by uploading through my Nextcloud.
It is by now some people would set up some form of ingest server that downloads requested movies and transcodes them… but piracy is not legal in Sweden. I will instead be keeping an eye out on second hand sites like eBay and Tradera as well as physical second hand stores. And honestly, that sounds fair to me. I’m not for piracy, I just want to own my media.
Conclusion
In the end, I have now purchased a mini PC, which will act as a media PC for the living room.
And like that, I accomplished my idea of having a desktop accessible through the smart TV, and an unrelated home server.
Moral of the story: just buy the damn PC.
Atleast I know how to run a homelab now!
// Embracket